
Docker Compose Experiment Steps
Step 1: Create dockerfiles in application
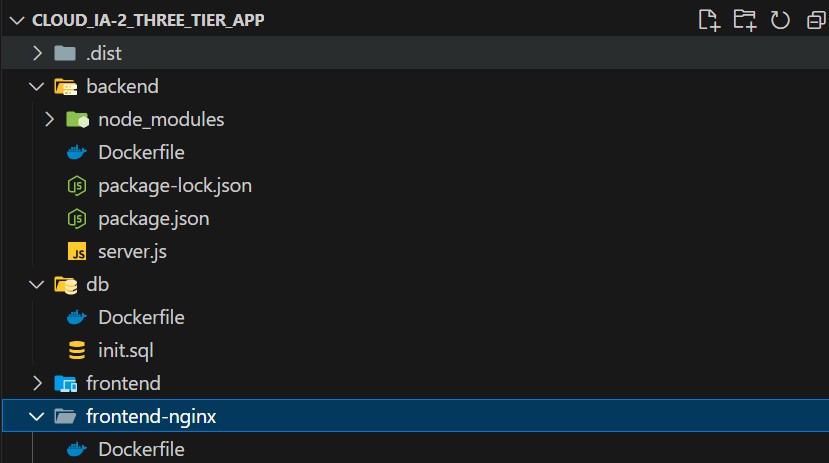
create dokcer files in fronten , backend and database folders
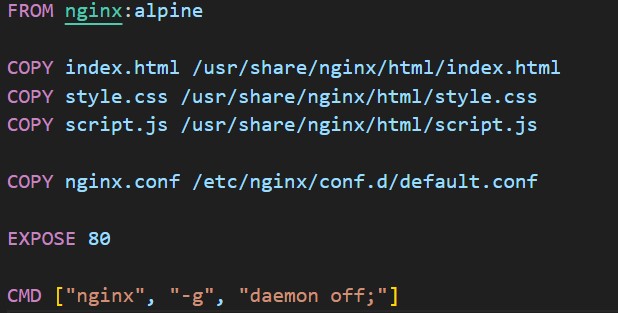
Step 2: Write dockerfile for frontend
This file specifies the base image, install any necessary dependencies, and define the command to start the frontend server.
Step 3: Write dockerfile for backend
This file specifies the base image, install any necessary dependencies, and define the command to start the backend server.

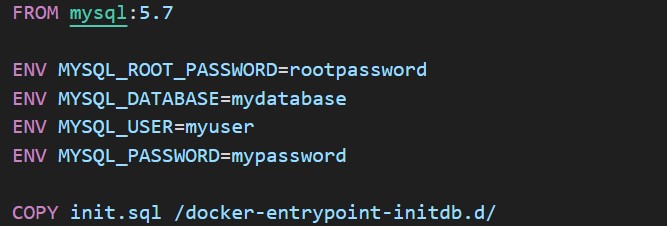
Step 4: Write dockerfile for database
This file specifies the base image for the database, and any necessary setup commands to initialize the database.
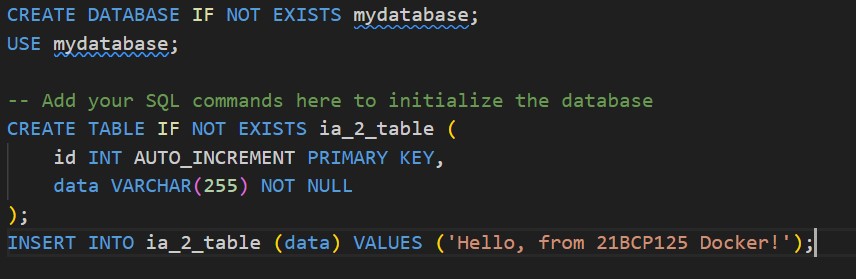
Step 5: Write init.sql script for database
This script includes commands to create tables, insert initial data into application's database.
Step 6: Write docker-compose file for the application
docker-compose.yml
Step 7: Now we will build the application and run
docker-compose up --build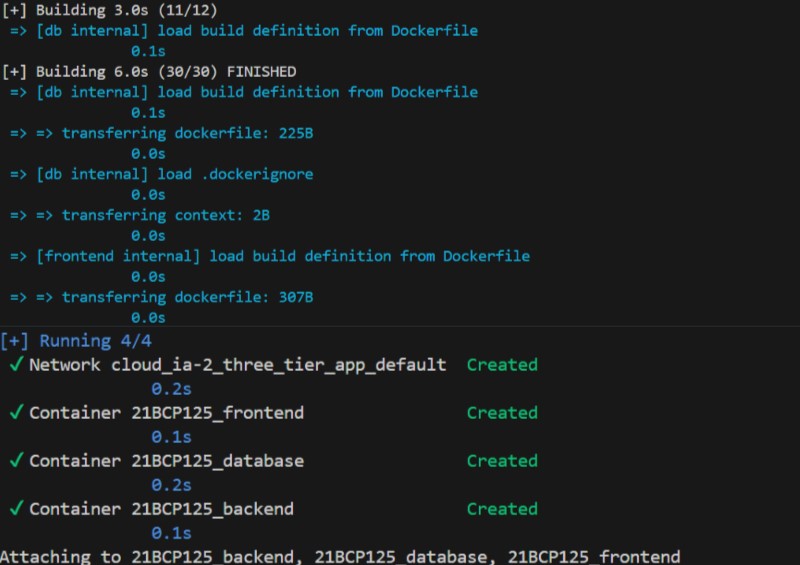
Step 8: Now we can see the container are created and running
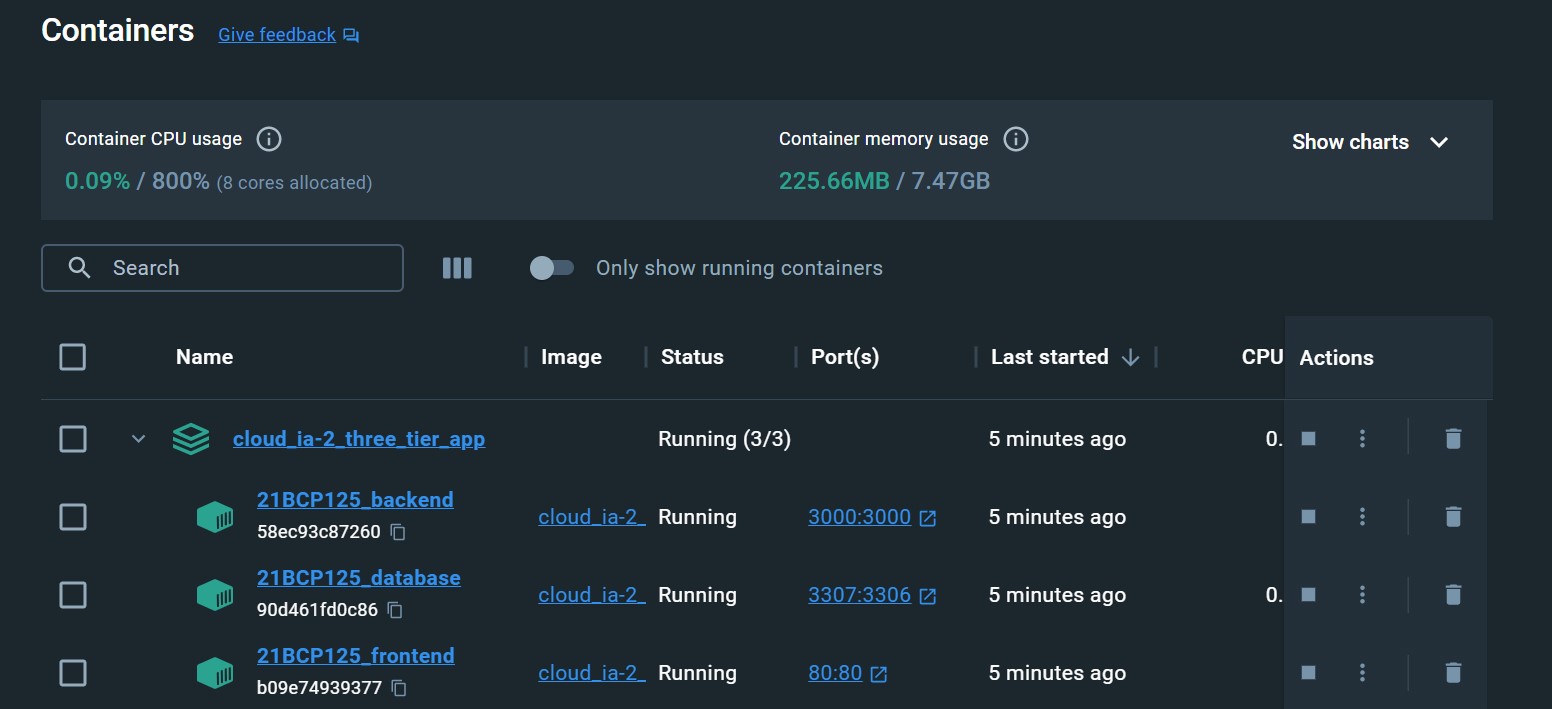
Step 9: We can also check running container through command
docker ps
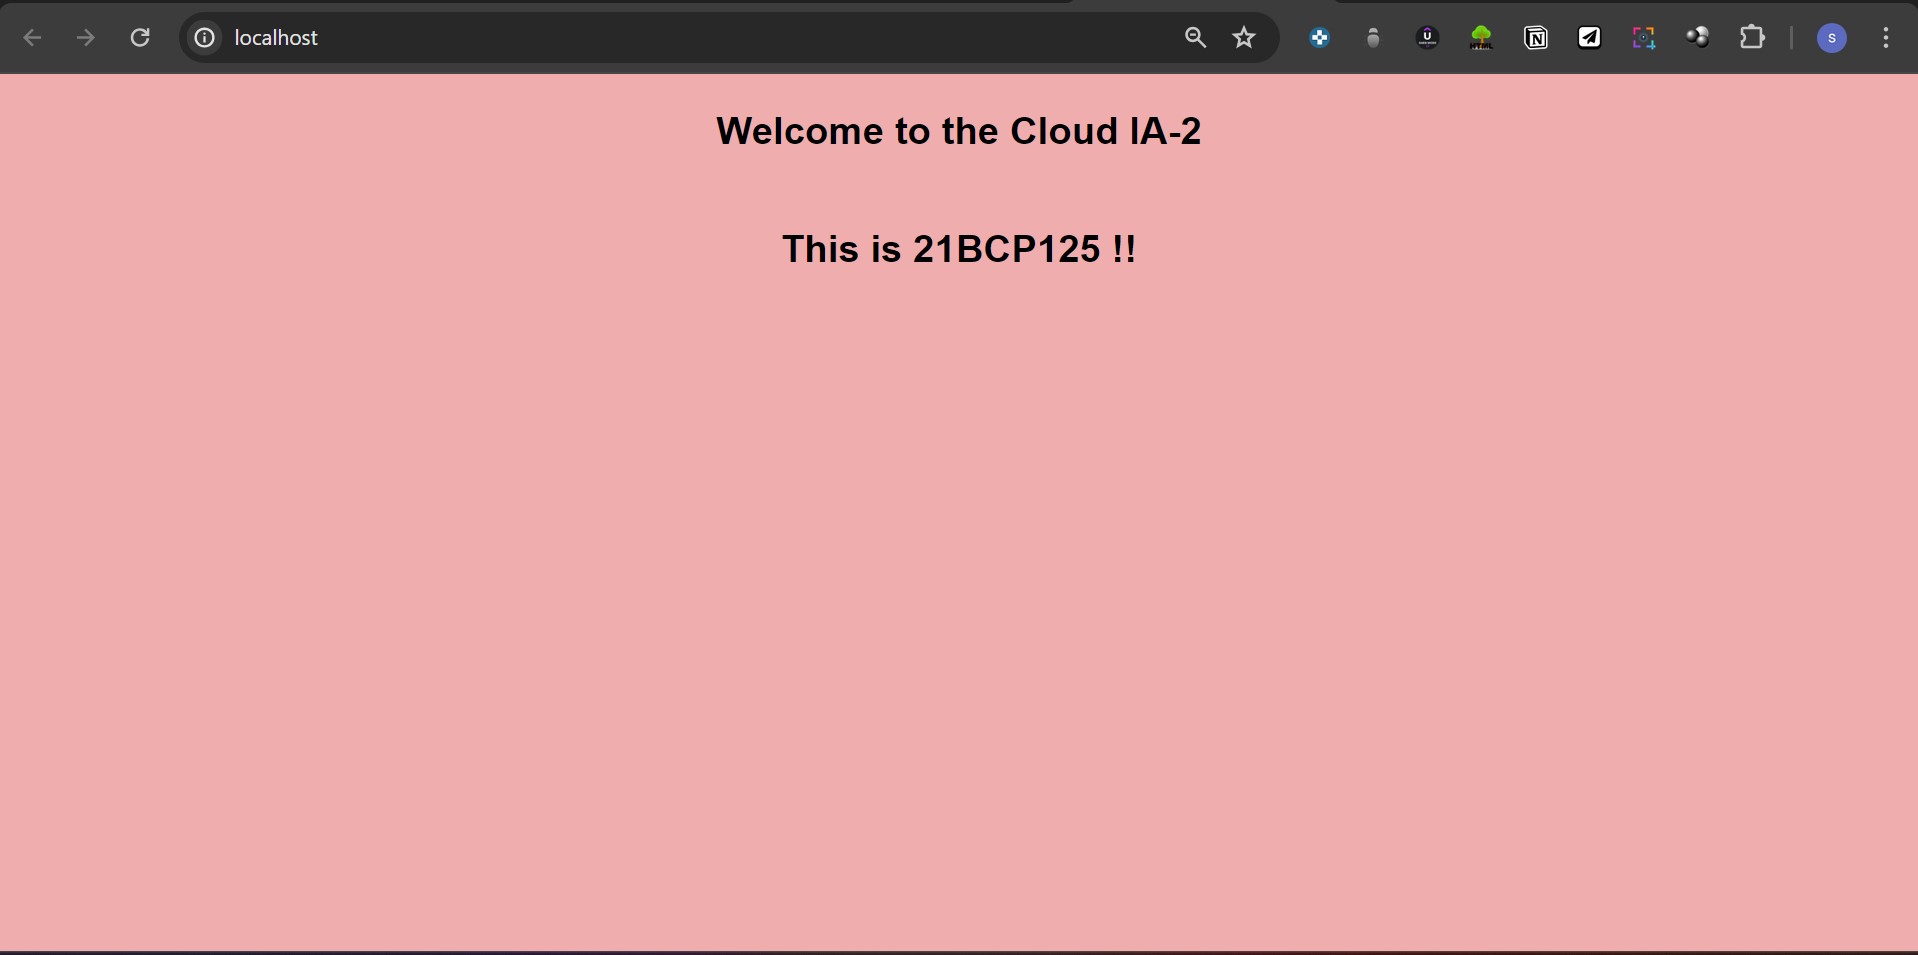
Step 10: Now you could view frontend on http://localhost/
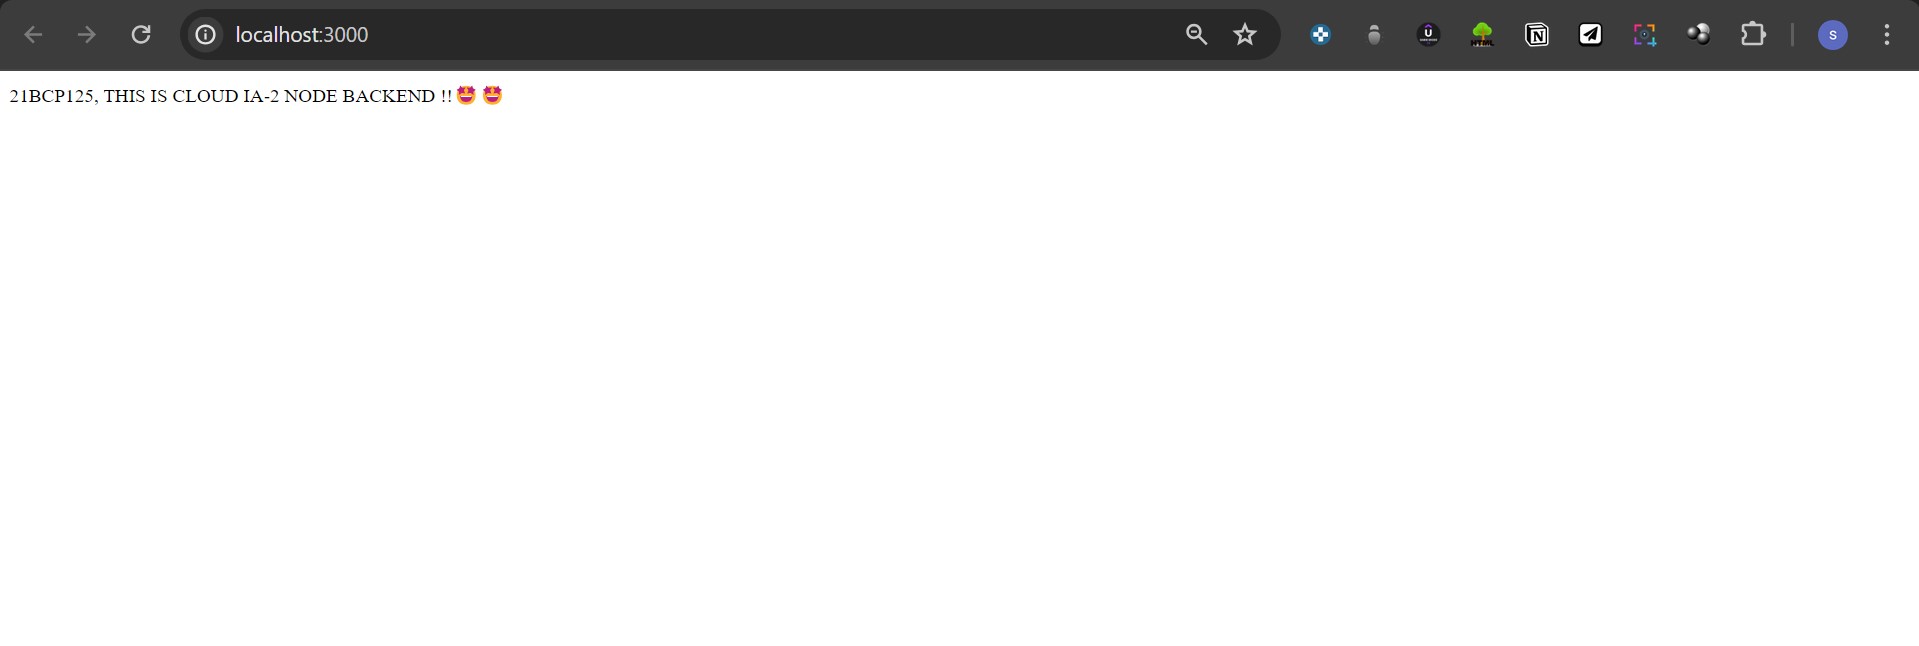
Step 11: Now you could view backend at http://localhost:3000/
Step 12: Now we will view the database
docker exec -it container_id_of_database mysql -u username -p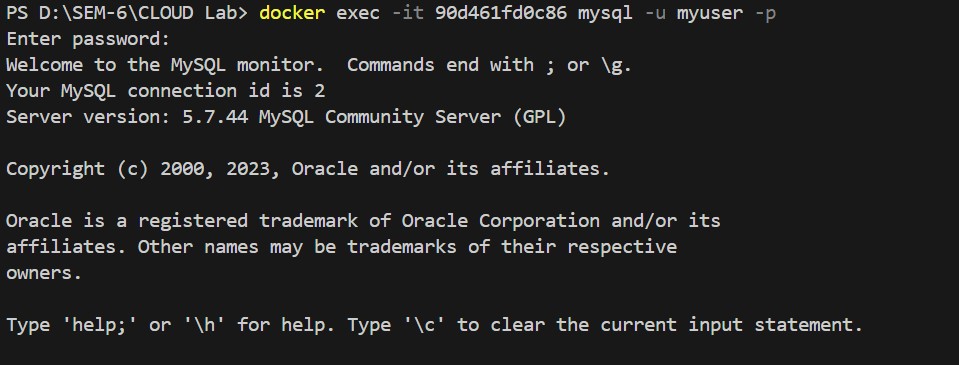
Step 13: Check if Database is created or not
show databases;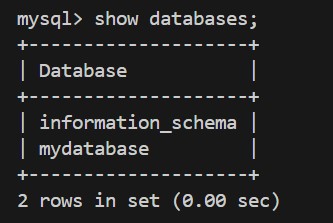
Step 14: Now use the databse
use databses;
Step 15: See the entry in database
select * from ia_2_table;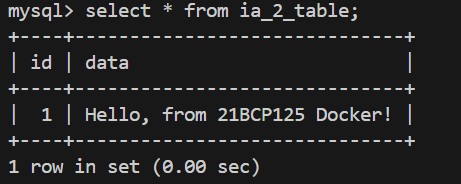
Step 16: Now check the images
docker images
Step 17: Now tag the image to your dockerhub account
docker tag cloud_ia-2_three_tier_app-frontend shivraj03/cloud_ia-2_three_tier_app-frontend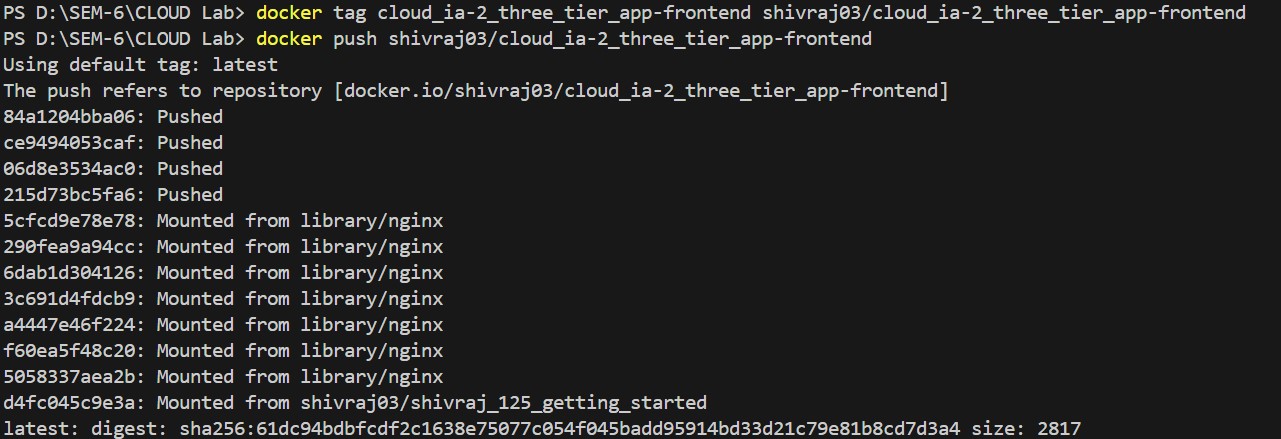
Step 18: Now push the image on Docker hub account
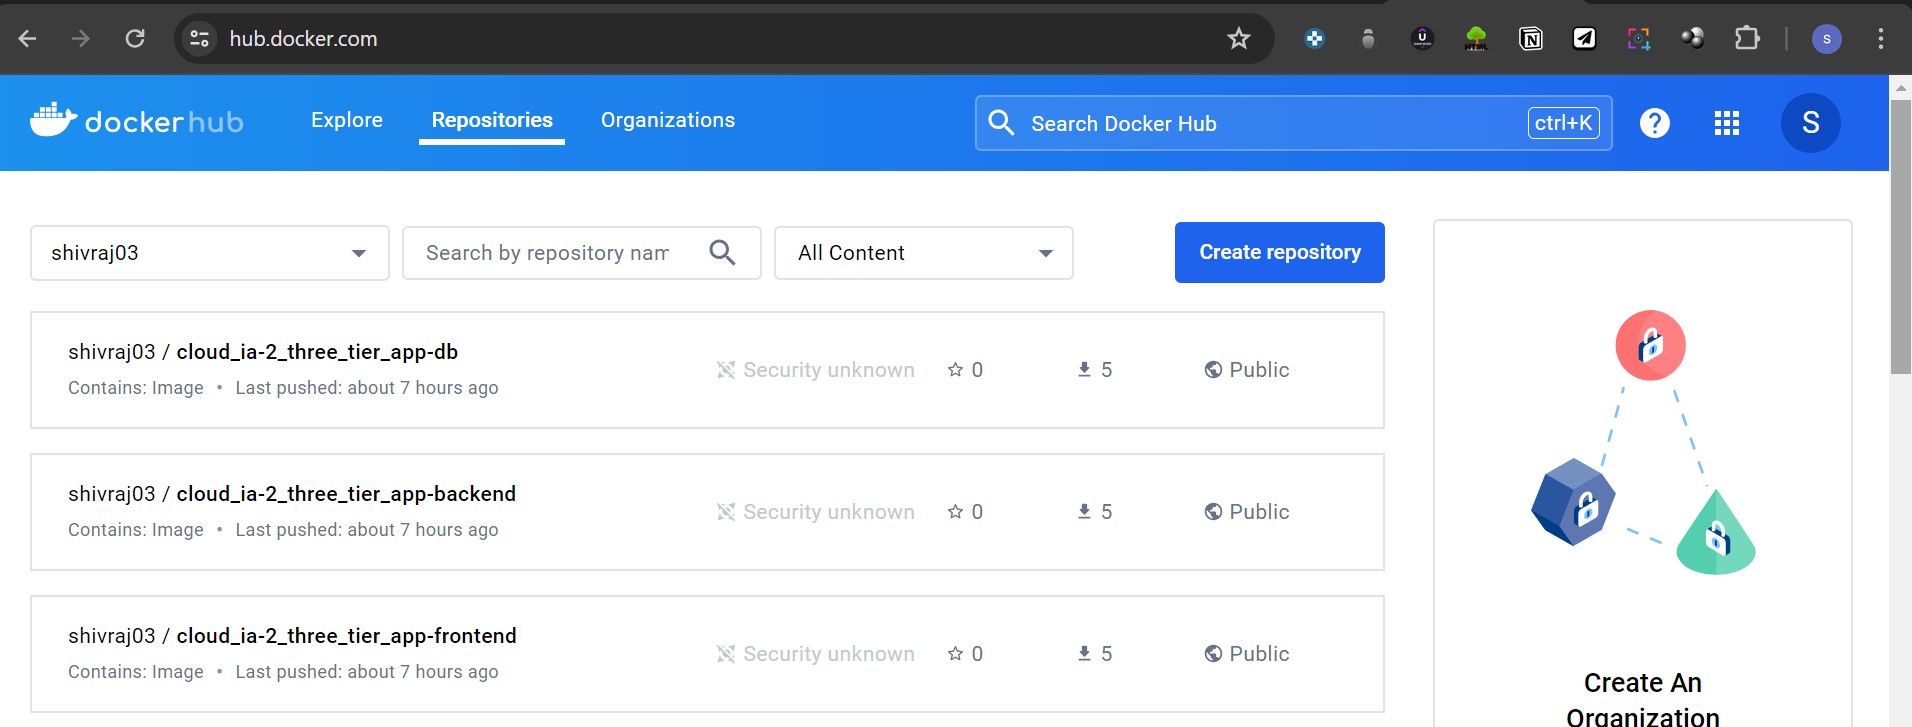
docker push shivraj03/cloud_ia-2_three_tier_app-frontendStep 19: Now check the images in dockerhub account
Github link of three-tier-app
This contains the whole application and explanation of dockerfiles.